Latest image of Cindy’s Main Office

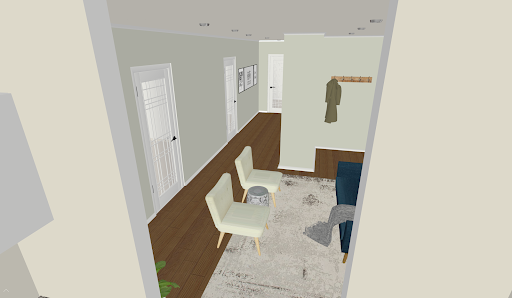
3D Mock-up of Cindy’s Main Office used for inspiration.
Cindy’s Office Suite
When Therapist Cindy Parcover decided she wanted to relocate and expand her practice, there were two key elements we needed to focus on: functionality and feel.
Cindy envisioned an office suite with at least four spacious therapy rooms, two bathrooms, a waiting room, and a kitchenette. Soundproofing, dimmable lighting, and secure storage for patient files were all unique “must have” items on this project.
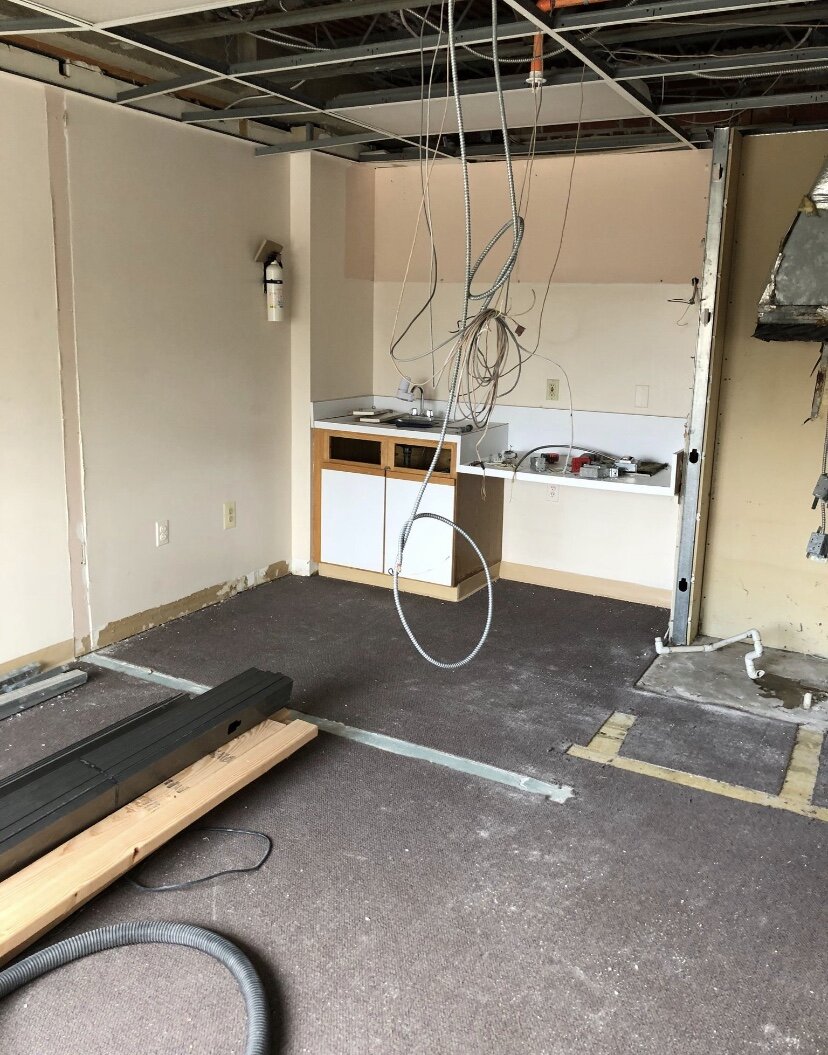
When we began, we knew this was going to be a BIG job. The new space was definitely a fixer-upper. It was dark, outdated, and in rough shape. After gutting it to the studs, we planned a new layout that allowed for all the amenities and functionality needed to bring Cindy’s vision to life. Working with her contractors and sourcing affordable materials, while on a tight timeline and budget, was a balancing act. But the final product was worth it!
Once construction was complete, the interior styling began. Cindy wanted this space to be a refuge, not just for her, but for her patients. She asked for a bright, comfortable and inviting feel throughout--a space where all could come to feel relaxed, centered, and safe. We not only needed to choose the right combination of color and texture, but also select furnishings that felt comfortable and accessible, while staying within budget and on a tight timeline.
As soon as the paint was dry on the walls, Cindy wanted to be able to open the door to patients immediately. I provided her with a detailed 2D layout, for accurate space planning, as well as a 3D rendering to better visualize the feel of the completed space. Lastly, I left her with a complete shopping list that itemized everything she would need to finish the job. From the custom sofa in her office, to the decorative extras she could add to the bookshelves, everything was carefully selected and comparison-shopped. Now, she’s able to use the space and take her time purchasing and furnishing at her own pace.
When entering the space now, it feels as though you’re entering a close friend's home, rather than a suite of offices. To the left is a photo of her almost-complete personal office. I can’t wait to see how her space evolves over time!
To see how we got there, check out the digital renderings and shopping lists below!
Full Floor Plan Redesign
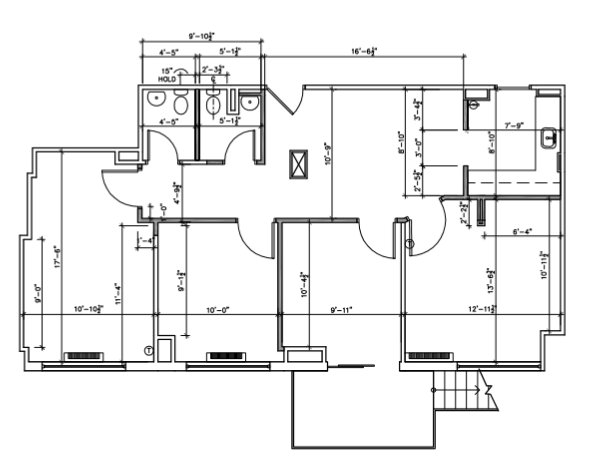
2D Space Planning Diagram including dimensions.
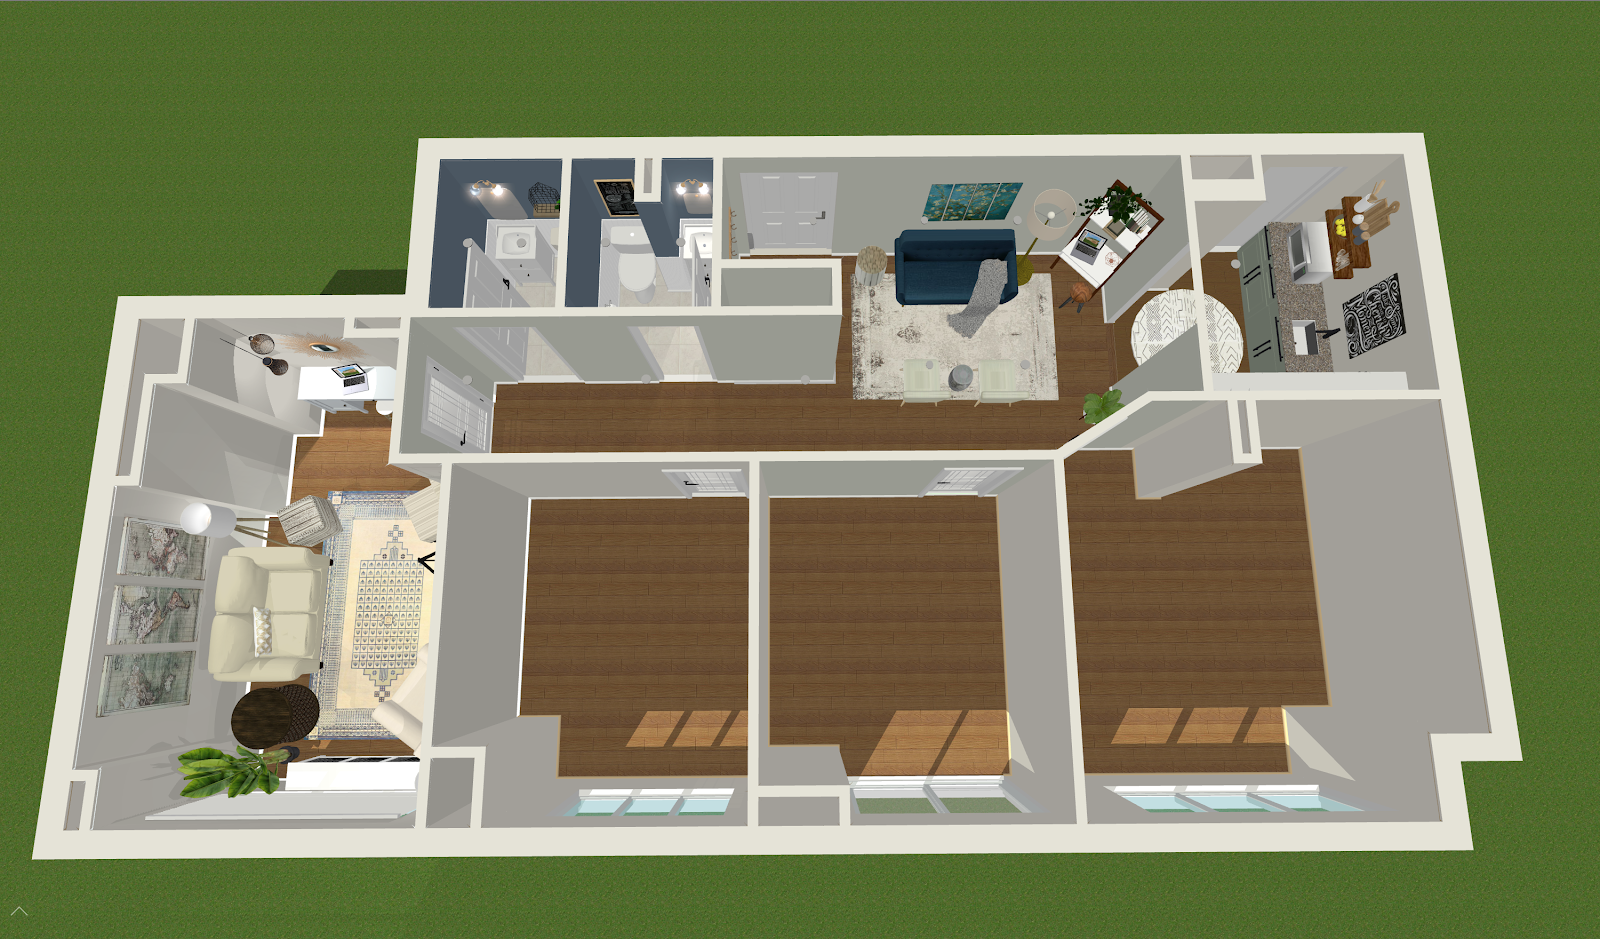
3D Mock-Up of entire office space.
“Jessica was so wonderful to work with! I initially lacked the confidence to even know where to start, and Jessica empowered me to express my personality in a way that cultivated a beautiful and inviting space for me and my clients. She practices her craft with a seamless balance of listening to her clients while effectively guiding them to make design decisions that are reflective of their priorities. After working with Jessica, I have a much better knowledge of how to create a warm and inviting space. I'm so grateful for her every time I sit down in my comfy chair and take in how happy my office makes me feel.”
— Cindy P., Towson MD
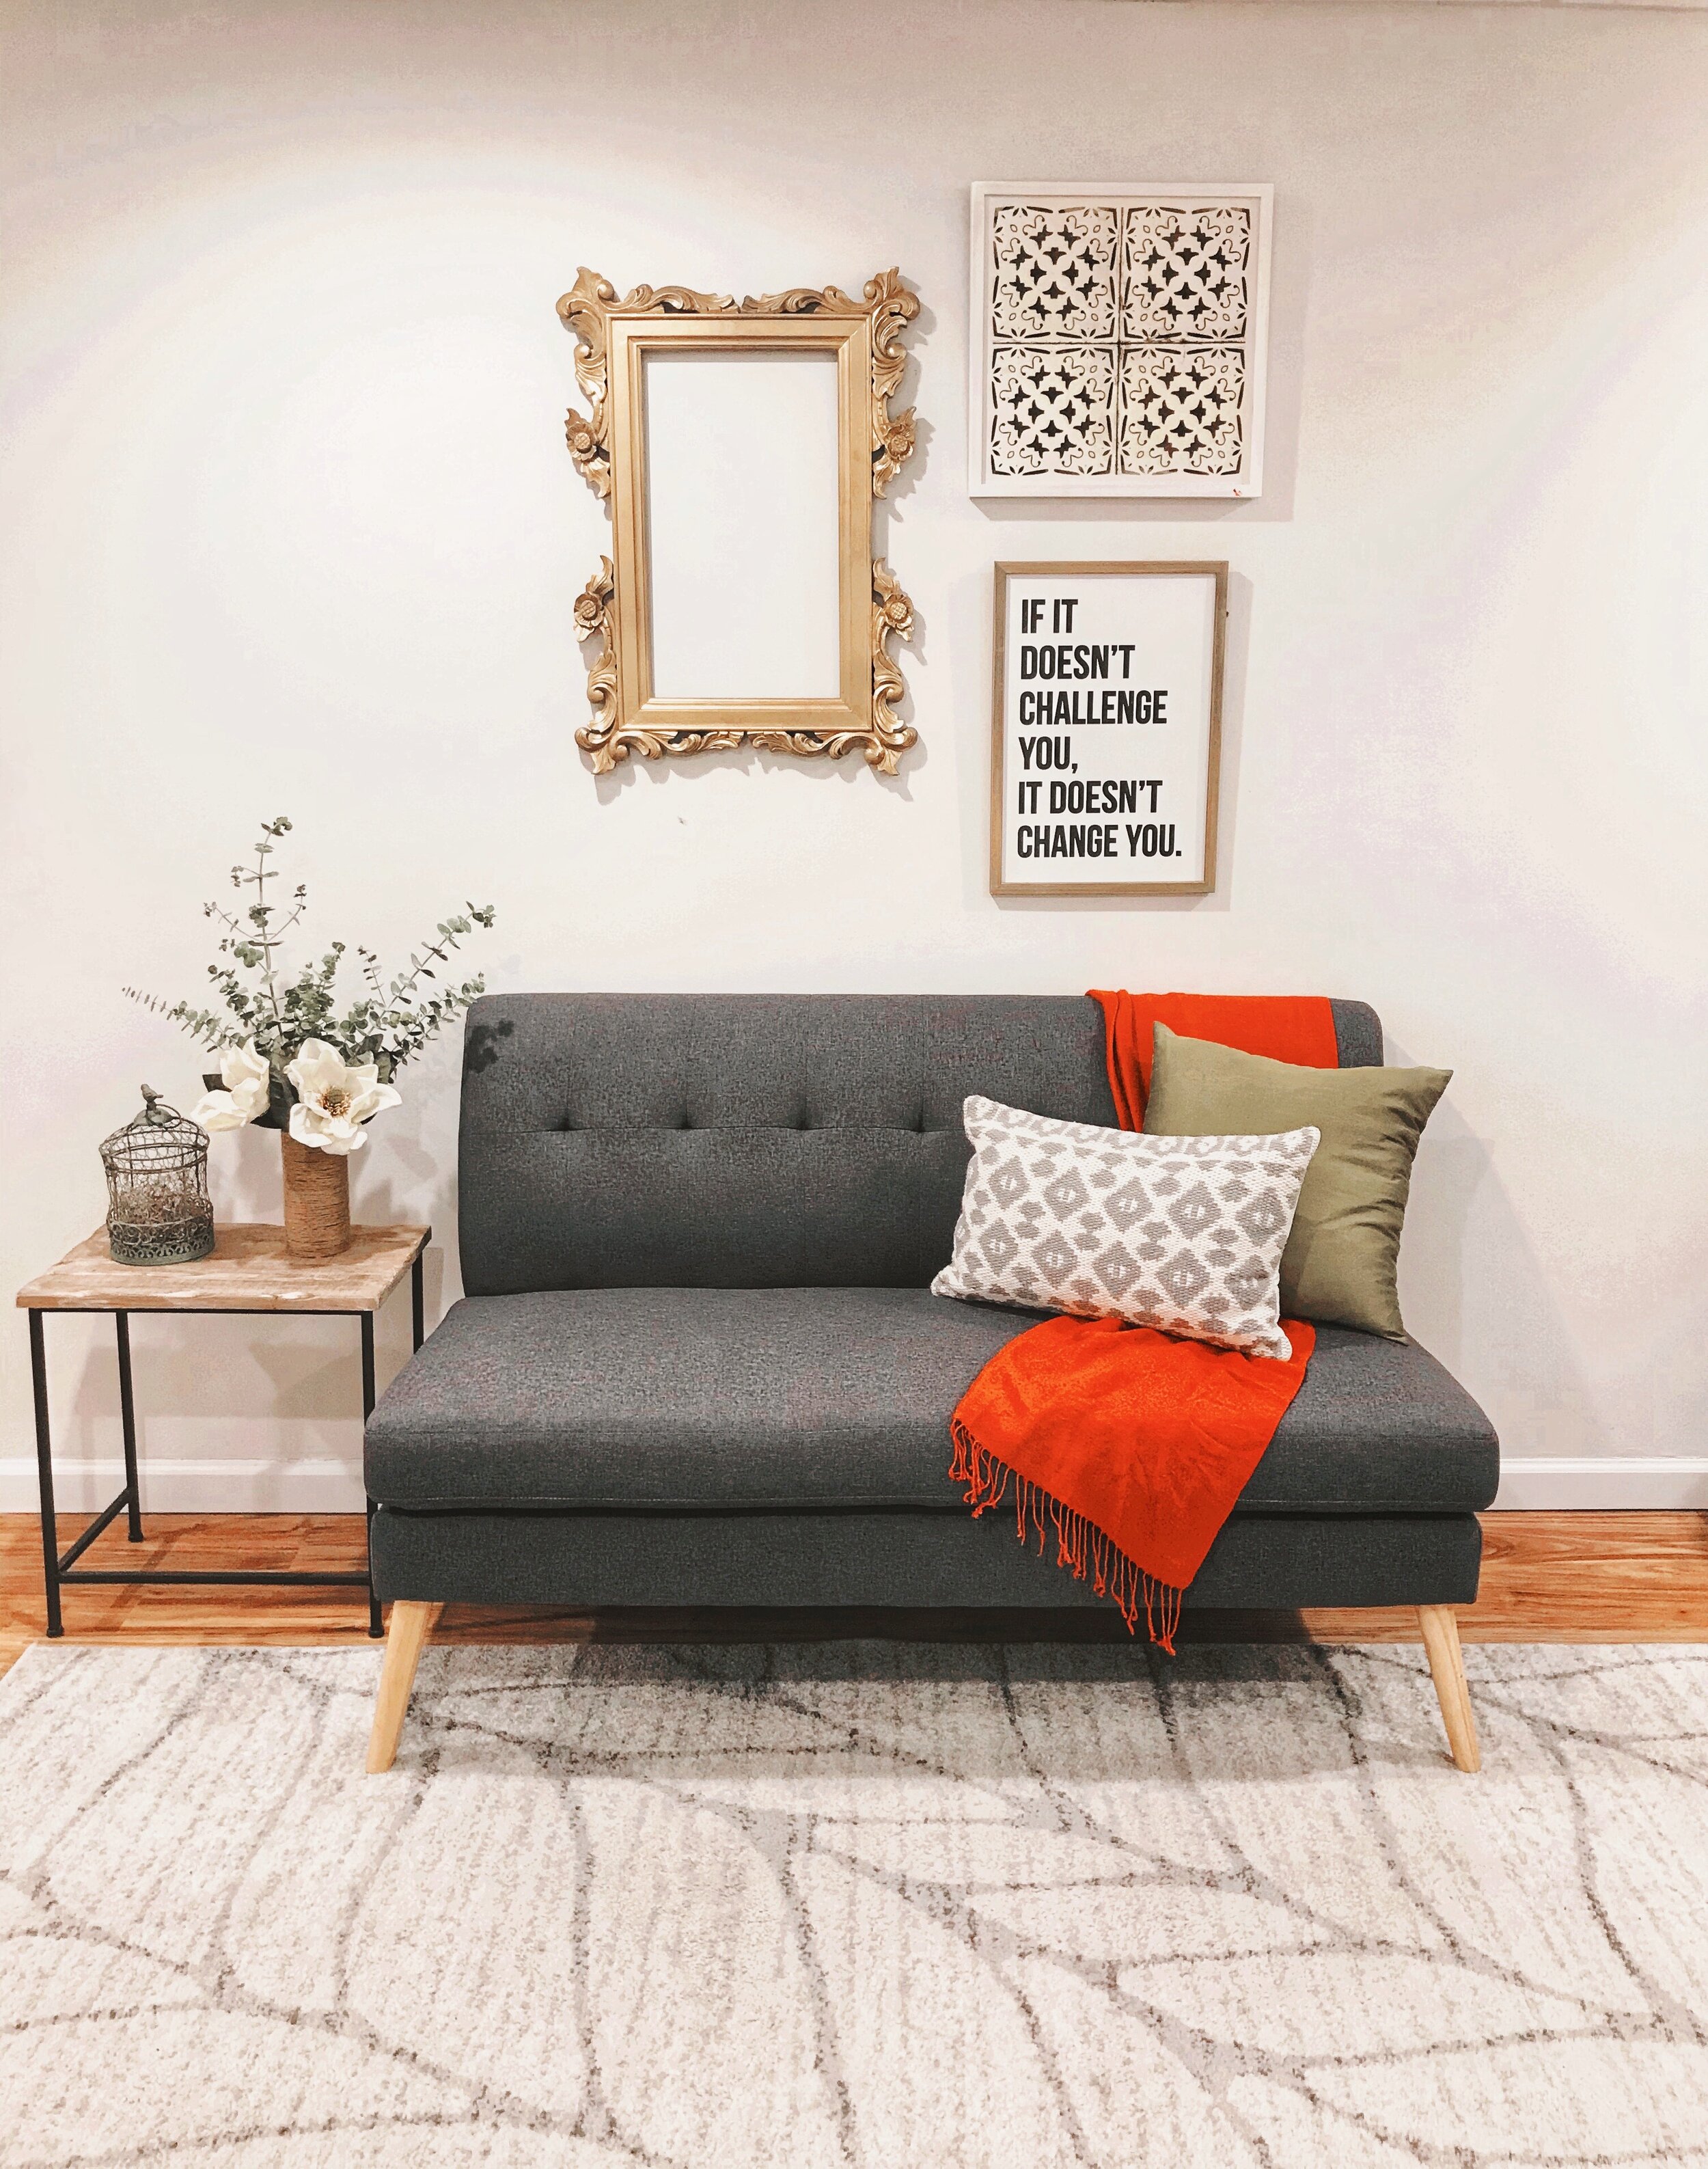
The Waiting Area
The goal was to make this space function like a waiting room, but feel like you were entering a friends home!
Cindy favors a casual and relaxed shabby-chic style, with found, gifted and thrifted pieces throughout. With a tight budget that needed to be split between renovations and decor, this worked out well! We focused on finding the staple pieces at a low price point and splurged on the extras, giving the place a cozy and relaxed charm.

The Waiting Area BEFORE the Floor Plan Redesign, Demolition, and Reconstruction
The Waiting Area BEFORE the Floor Plan Redesign, Demolition, and Reconstruction

The Waiting Room during Reconstruction
3D Mock-Up view of Waiting Room and Hallway for the Kitchenette

2D Space Planning with Measurements

3D Mock-Up of The Waiting Room
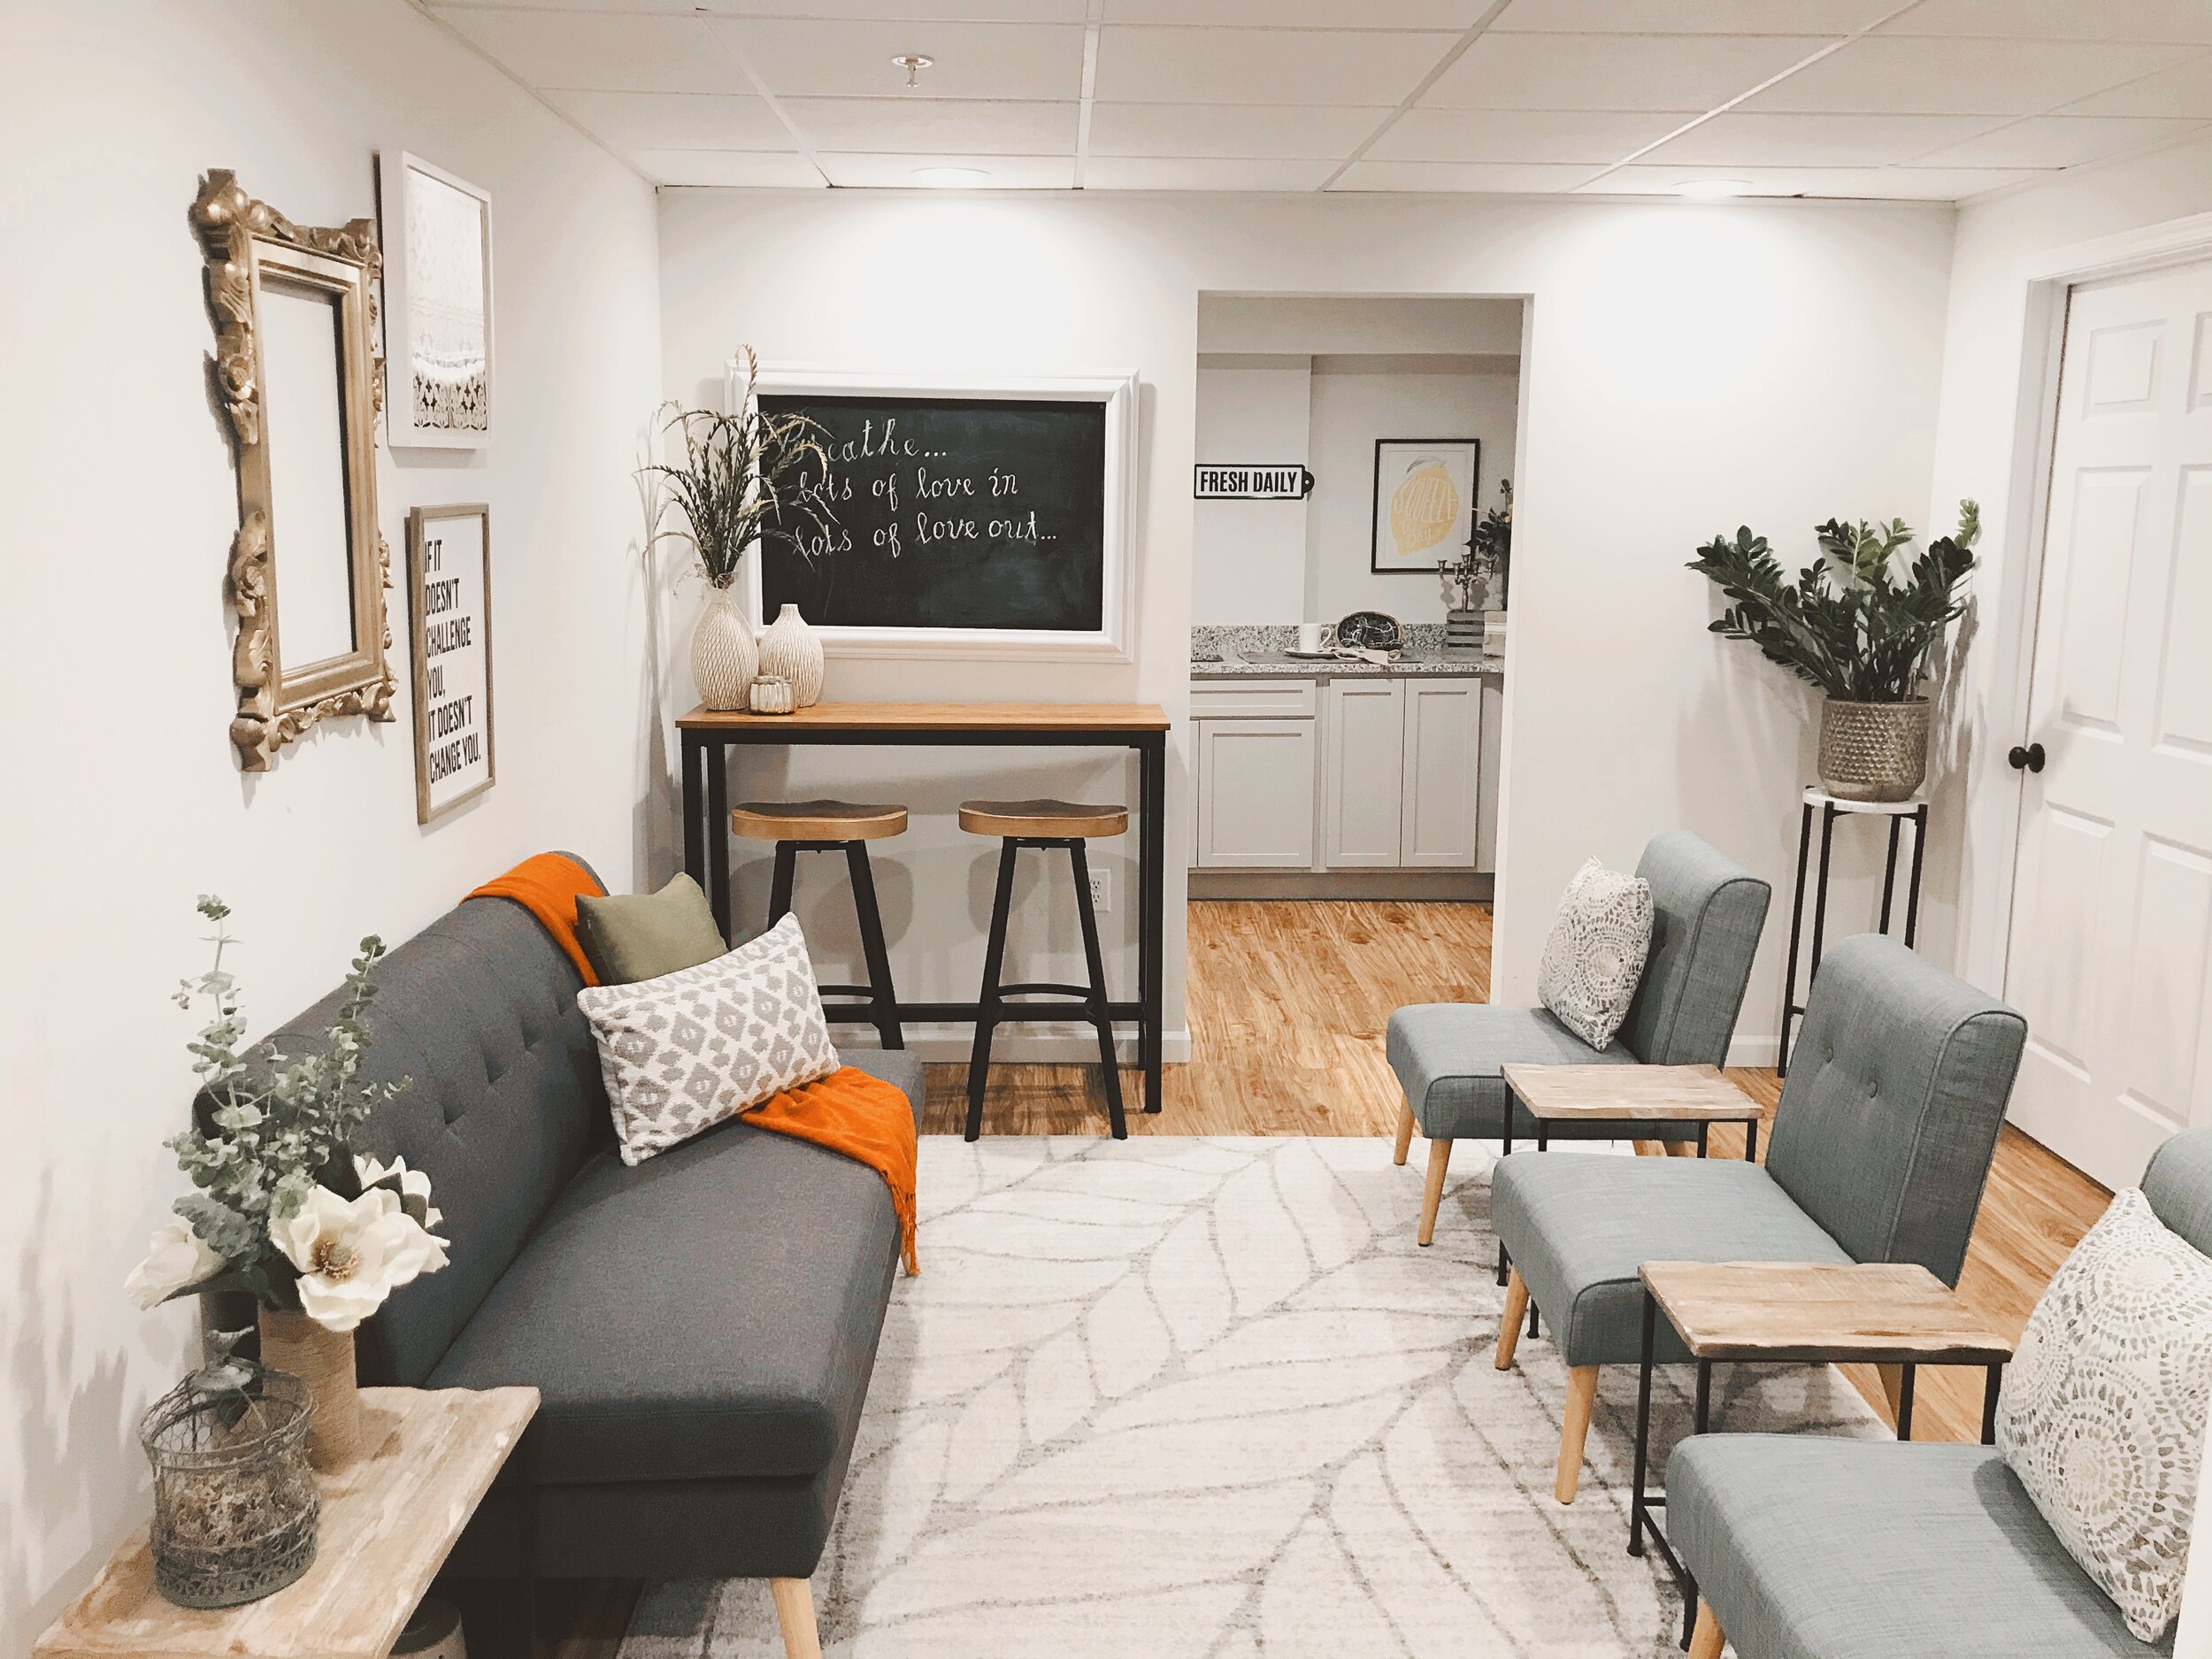
The Waiting Room AFTER! View from the front door.

The Waiting Area AFTER! View from the Kitchenette.
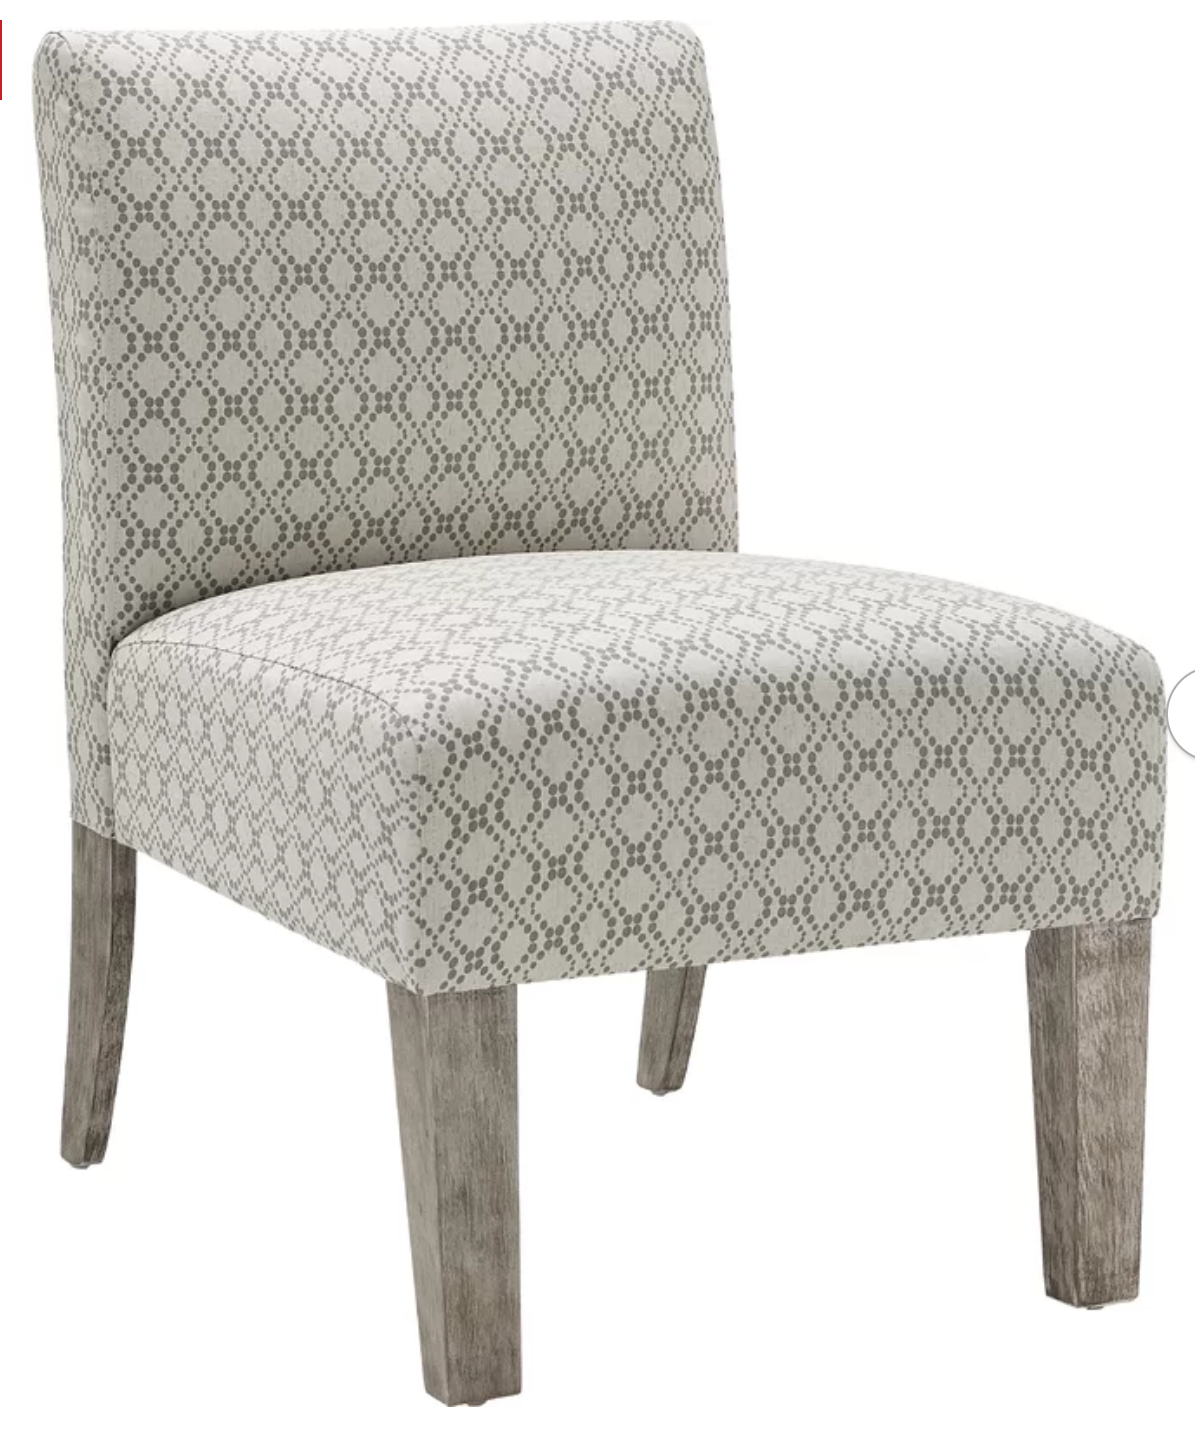
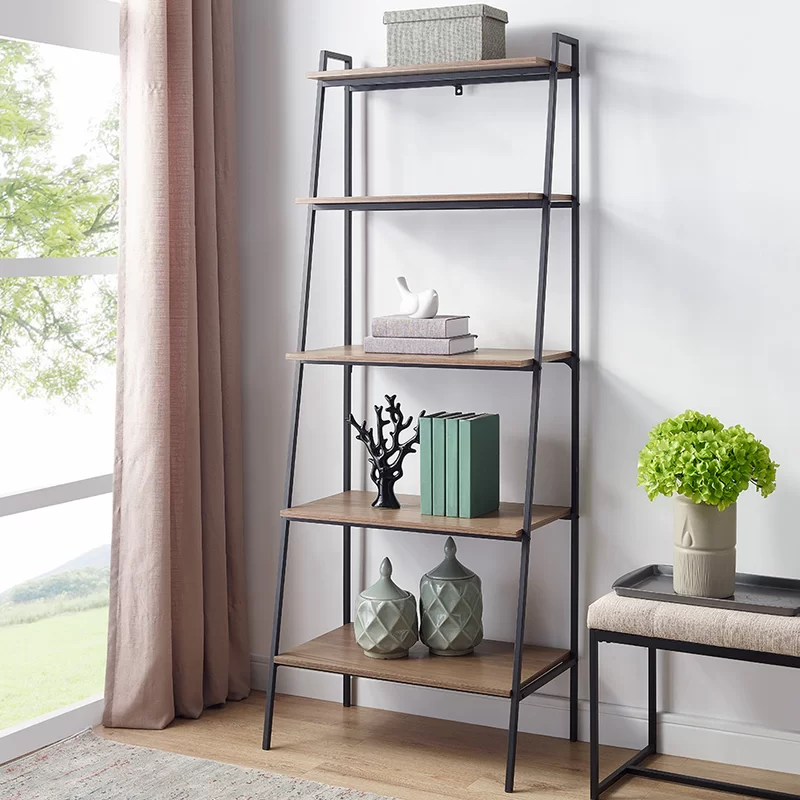
Recommended Shopping List


The Bathrooms
The original space had one oversize bathroom with a carpeted floor... yuck.
For practicality (and sanitation reason) we had the entire space gutted, and split the space into two separate rooms. One right when you walk in off the waiting room, and a second near Cindy's main office.
There's still a few more steps to go until these bathrooms are fully complete. We’d like to paint the walls, change the finish on the hardware, continue the beadboard throughout the space and update a few decor elements over time. But for now, they are as perfect as can be!

The bathroom BEFORE. It was originally one long room with a single toilet and sink and carpeted floor.

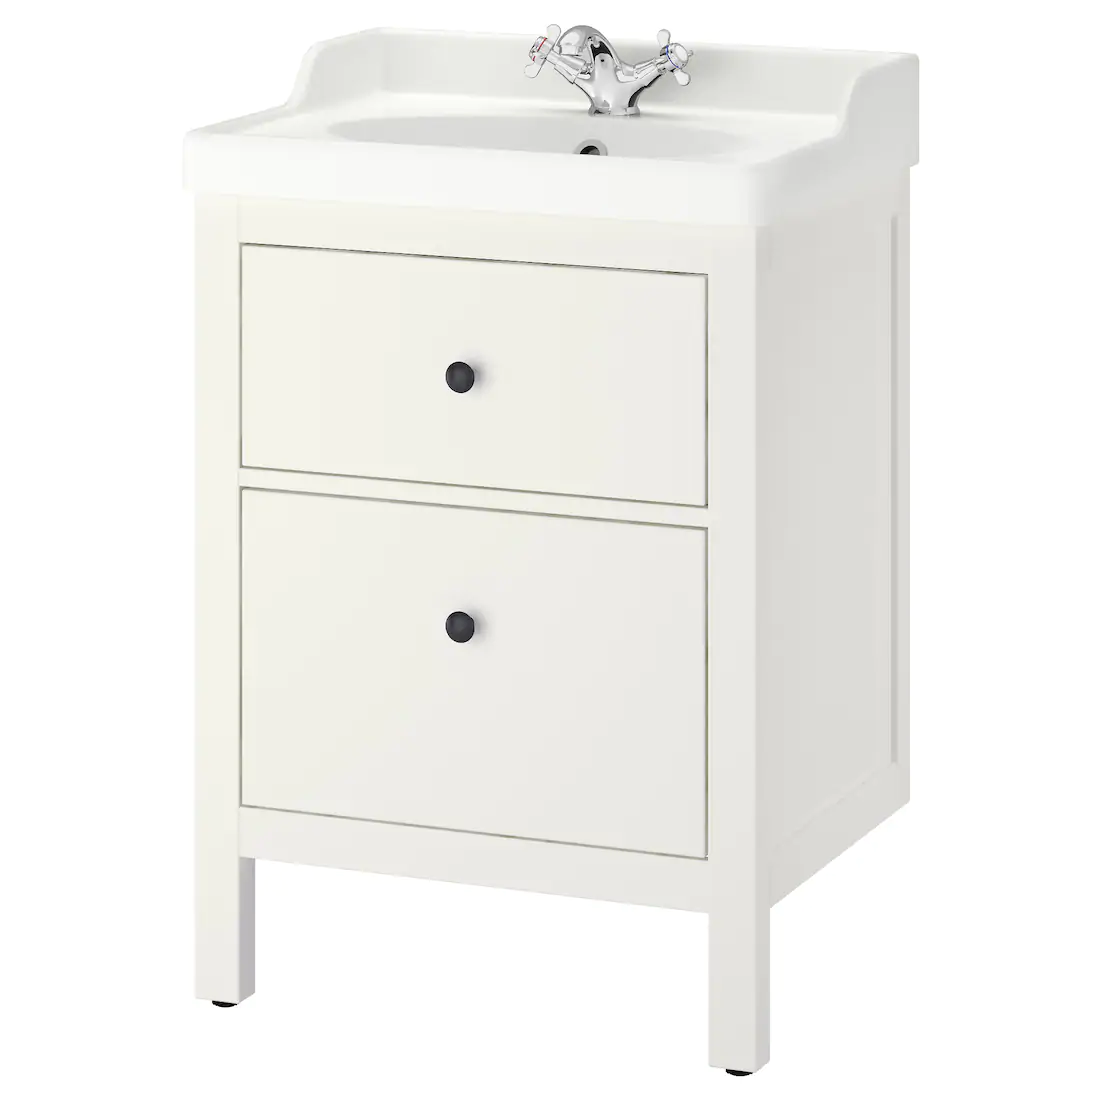
Replacing the flooring was a must. We found a stylish marble-look tile that was durable and affordable.

During construction we decided to have the door to the first bathroom moved. Now, instead of having the door off the hallway, as seen below in the initial renderings, the door is now right off the waiting room. This allowed for easier access and a better flow throughout.

2D Space Planning

3D Mock-Up of Bathrooms with original door placement.

3D Mock-Up of both bathrooms with initial layout and door placement.

Bathroom Progress Photo!
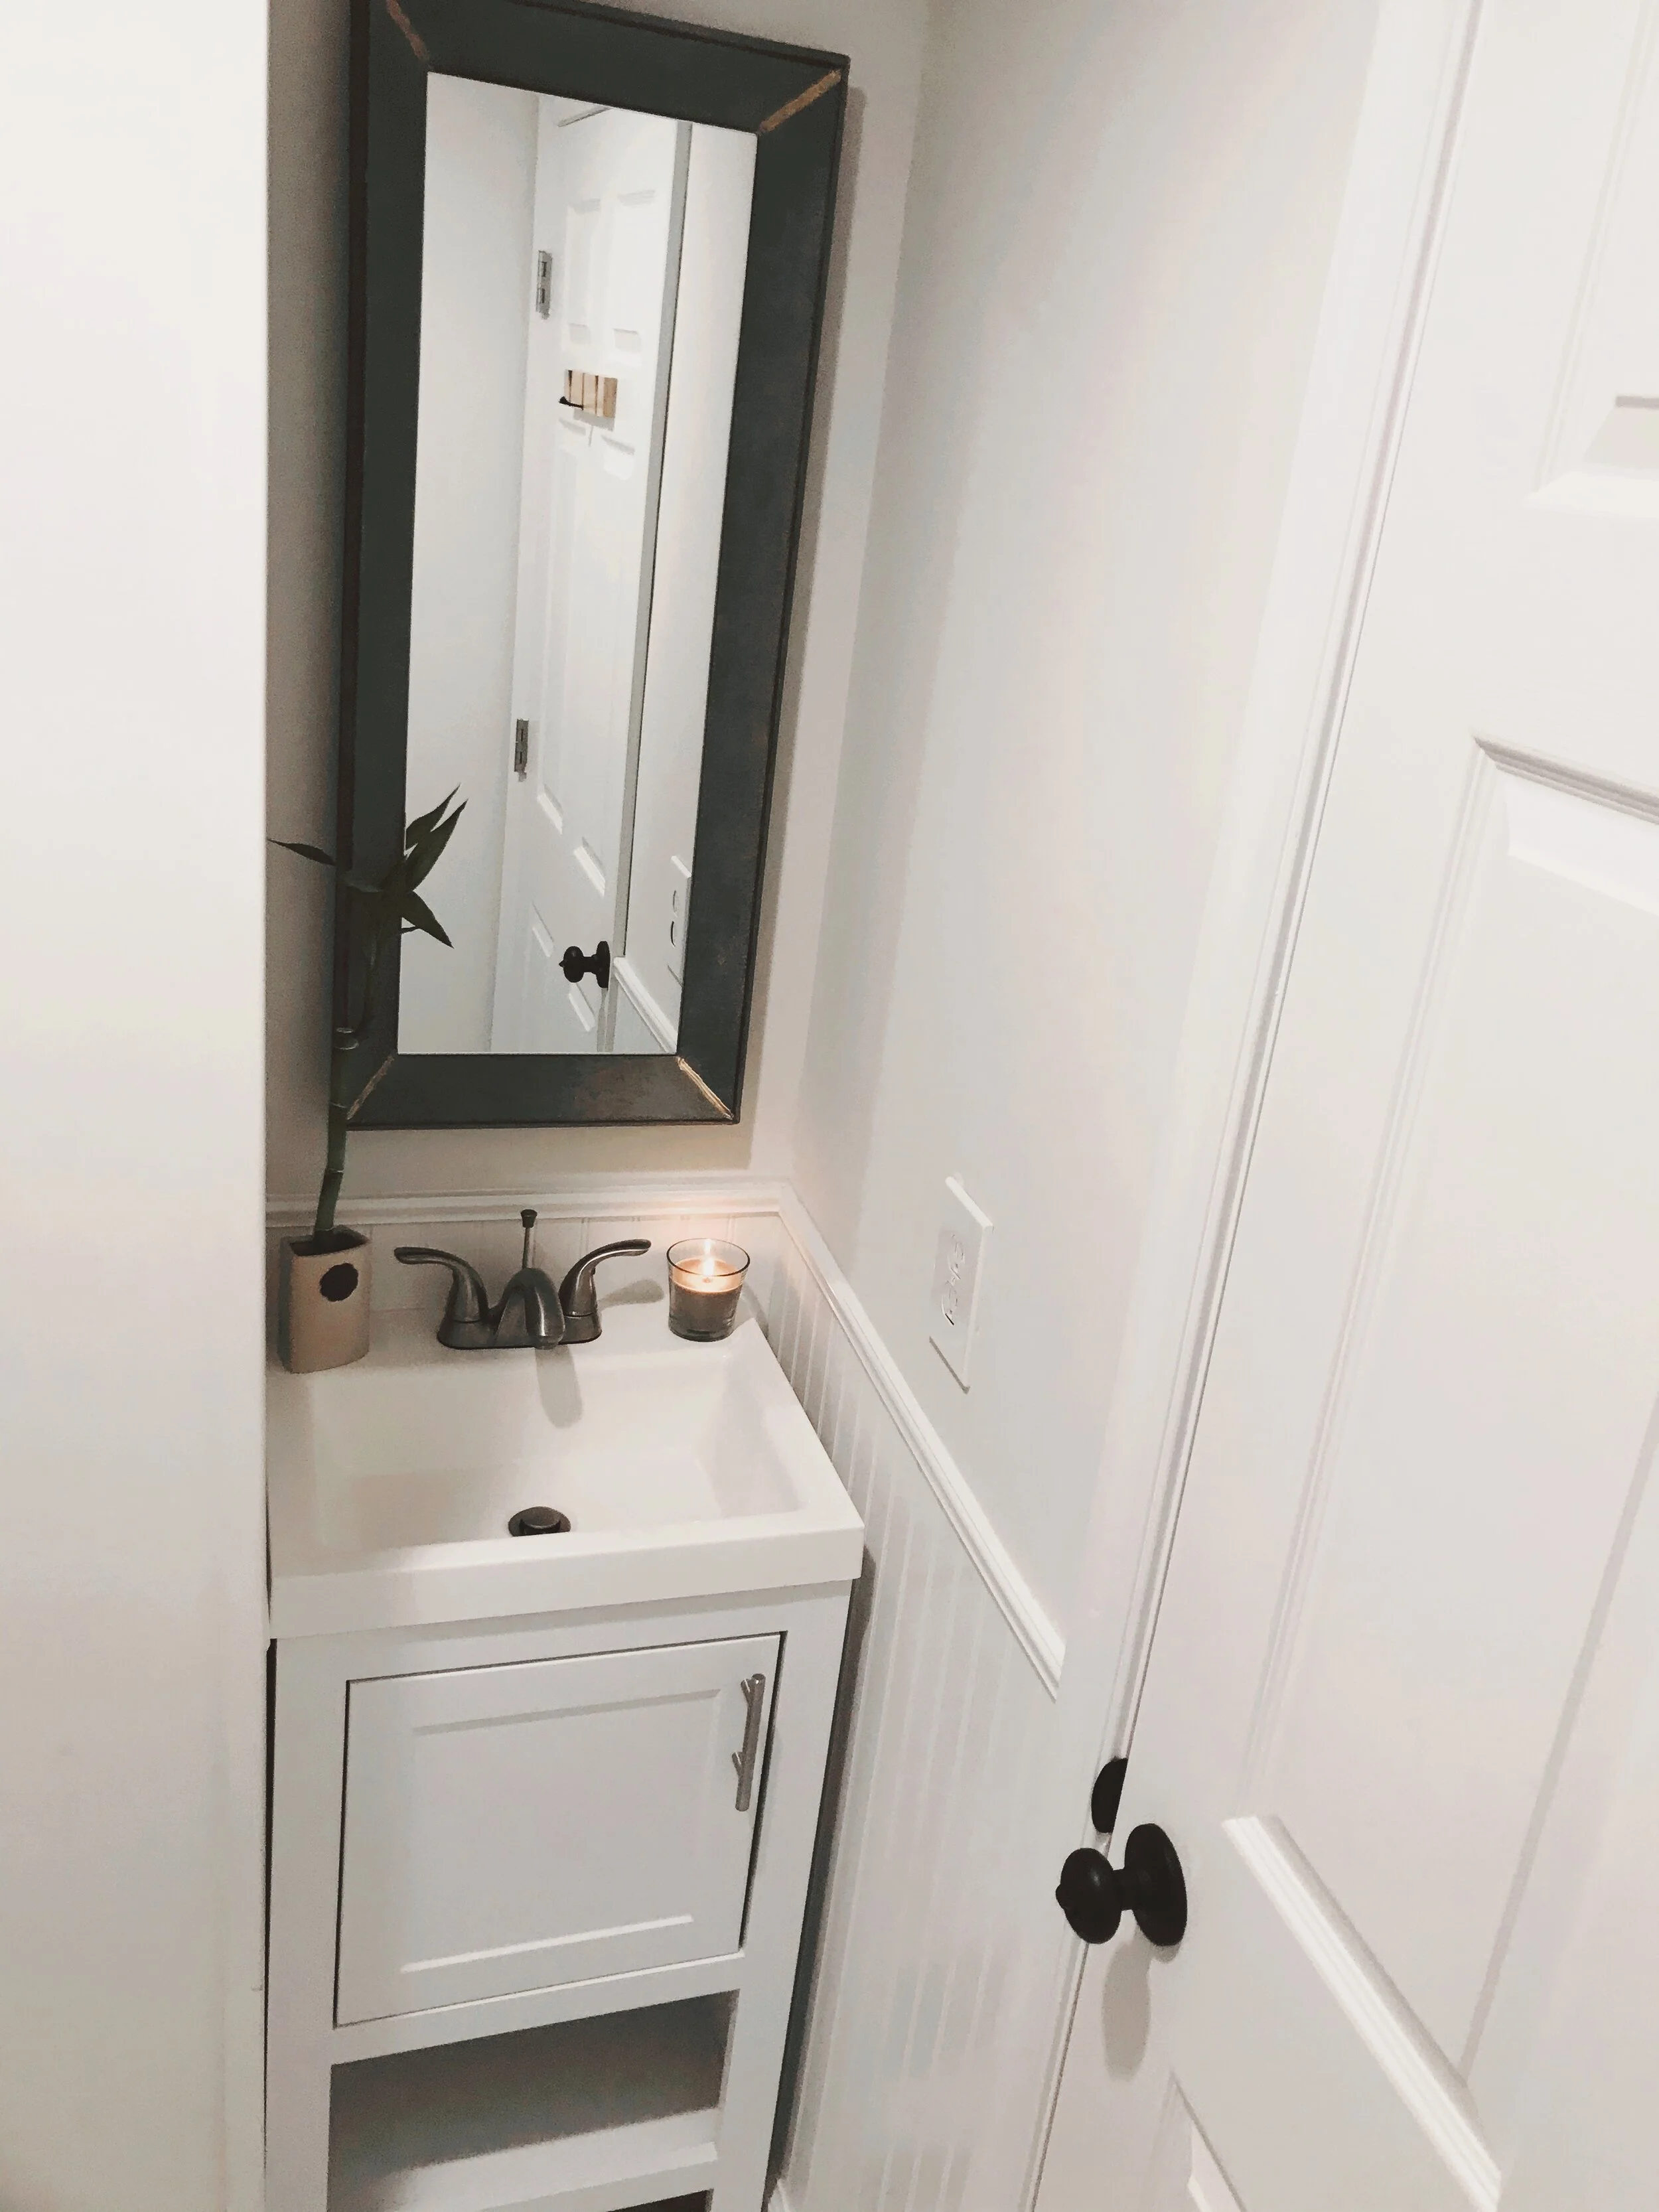
Almost complete!
Recommended Shopping List


Cindy’s Main Office
This was arguably the most important room in the whole project!
The main office is where Cindy would see patients, work on her notes, and manage the business side of the practice. It needed to be a comfortable and inviting sanctuary for all who walked through the door.
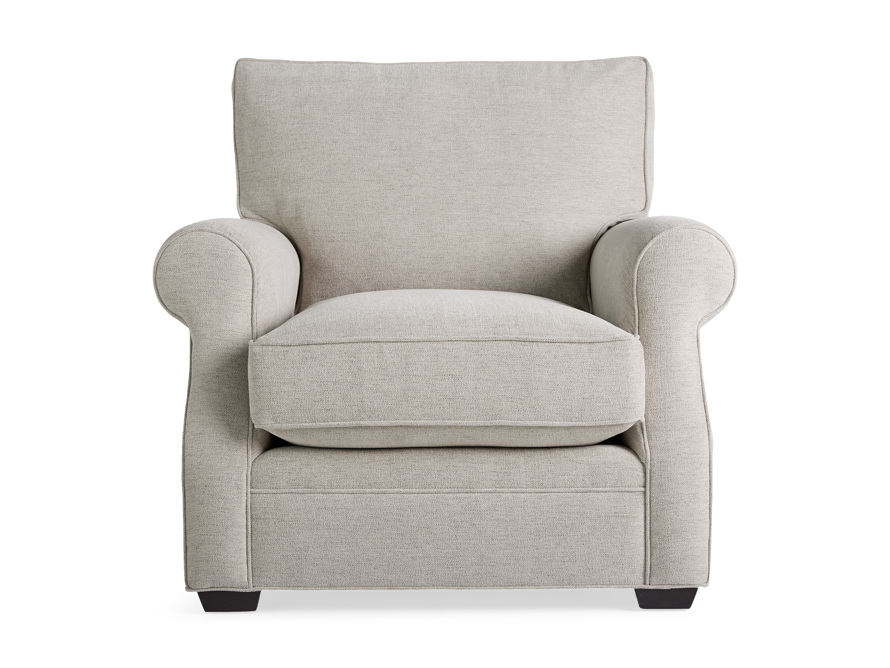
We made sure not to skimp on the sofa and chair, as they will be the most used pieces in the entire office. We kept the color pallet neutral, and for the decor we opted for simple pieces that wouldn't be distracting. Lots of plants and this large window also helped to set a calm bright mood and bring the outside in.

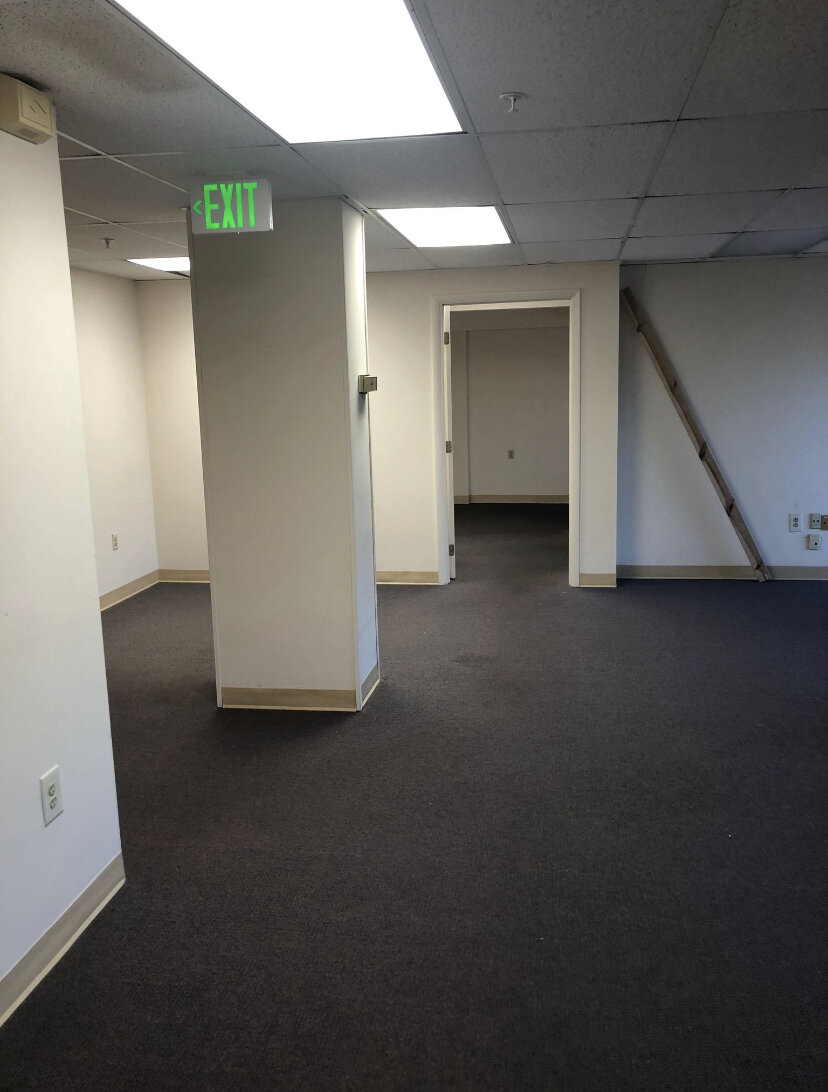
BEFORE: The original room we converted into Cindy’s main office was a text book example of untapped potential.

BEFORE: Cindy’s Main Office mid-demolition
The suite’s kitchenette was originally located where Cindy’s desk now is.
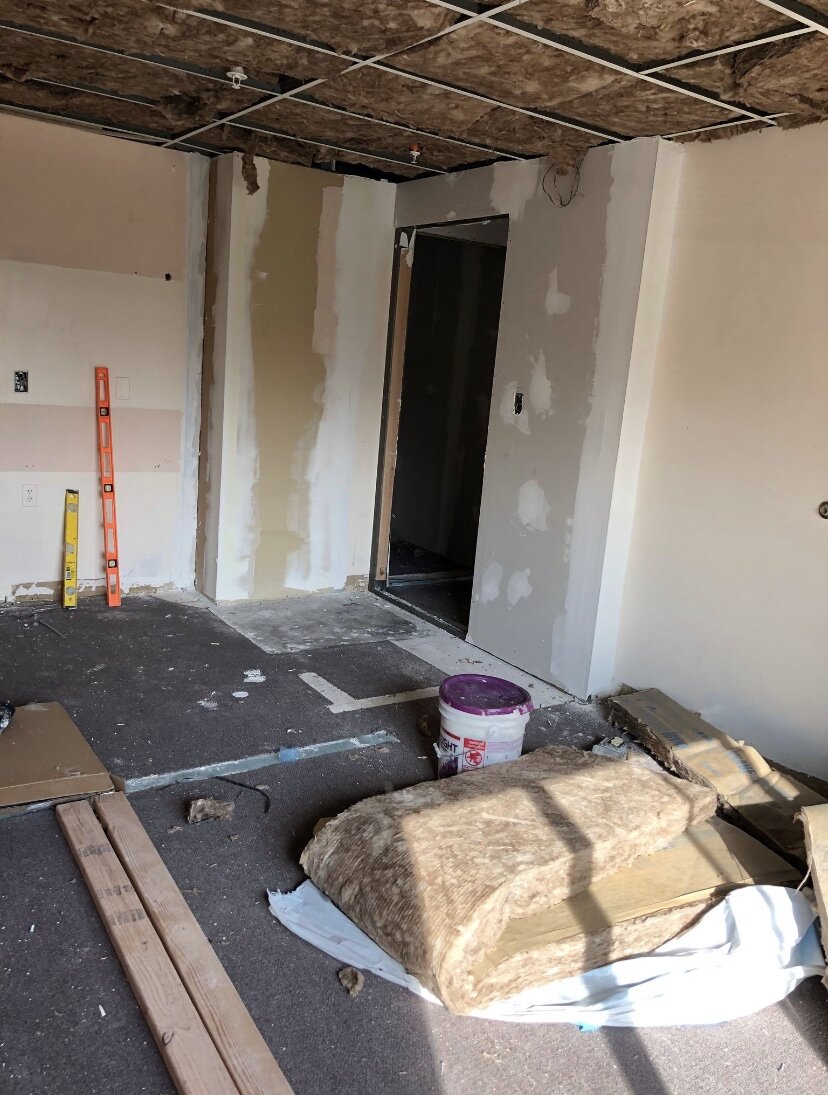
Walls needed to be moved and doorways needed to be added.

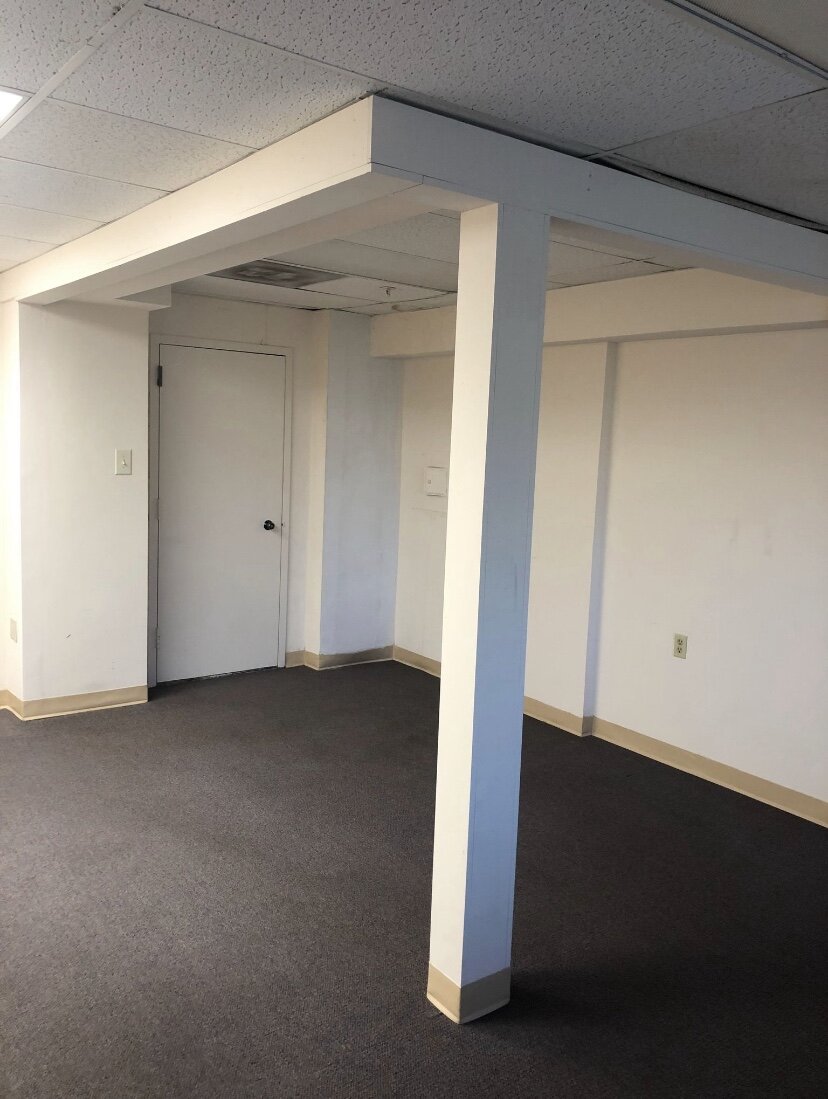
The kitchenette is relocated and the new floors are in!

Progress!

2D Space Planning

STAY TUNED! Here’s a sketch I did of the custom desk Cindy and I plan to build together in the fall.

3D Mock-Up of the Main Office Plans
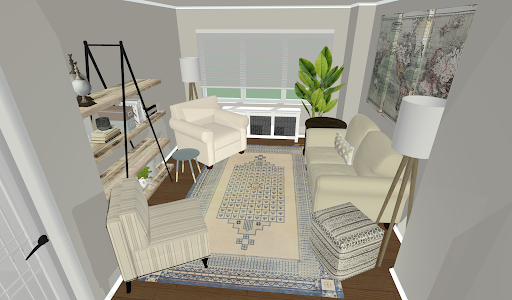
3D Mock-Up of Cindy’s Main Office

We’ve got a few updates to make down the road. But for now, this room is bright, inviting and comfortable for both Cindy and her patients.

Recommended Shopping List


Kitchenette
The suite originally had a smaller kitchenette located inside the area that would later become Cindy's main office. So relocating it was obviously step one.
With the new floor plan, we were able to fit a run of wrapping lower cabinets with space for a mini-fridge, as well as a run of upper cabinets along the wall to the right. Since there's no need for pots and pans, she now has more than enough storage for anything she might need to store long term in the office.

The original kitchenette had to go!
The new kitchenette location!

Adding and subtracting walls.

New floors and cabinets added. We’re on our way!

2D Space Planning Diagram of Kitchenette

3D Mock-Up of Kitchenette
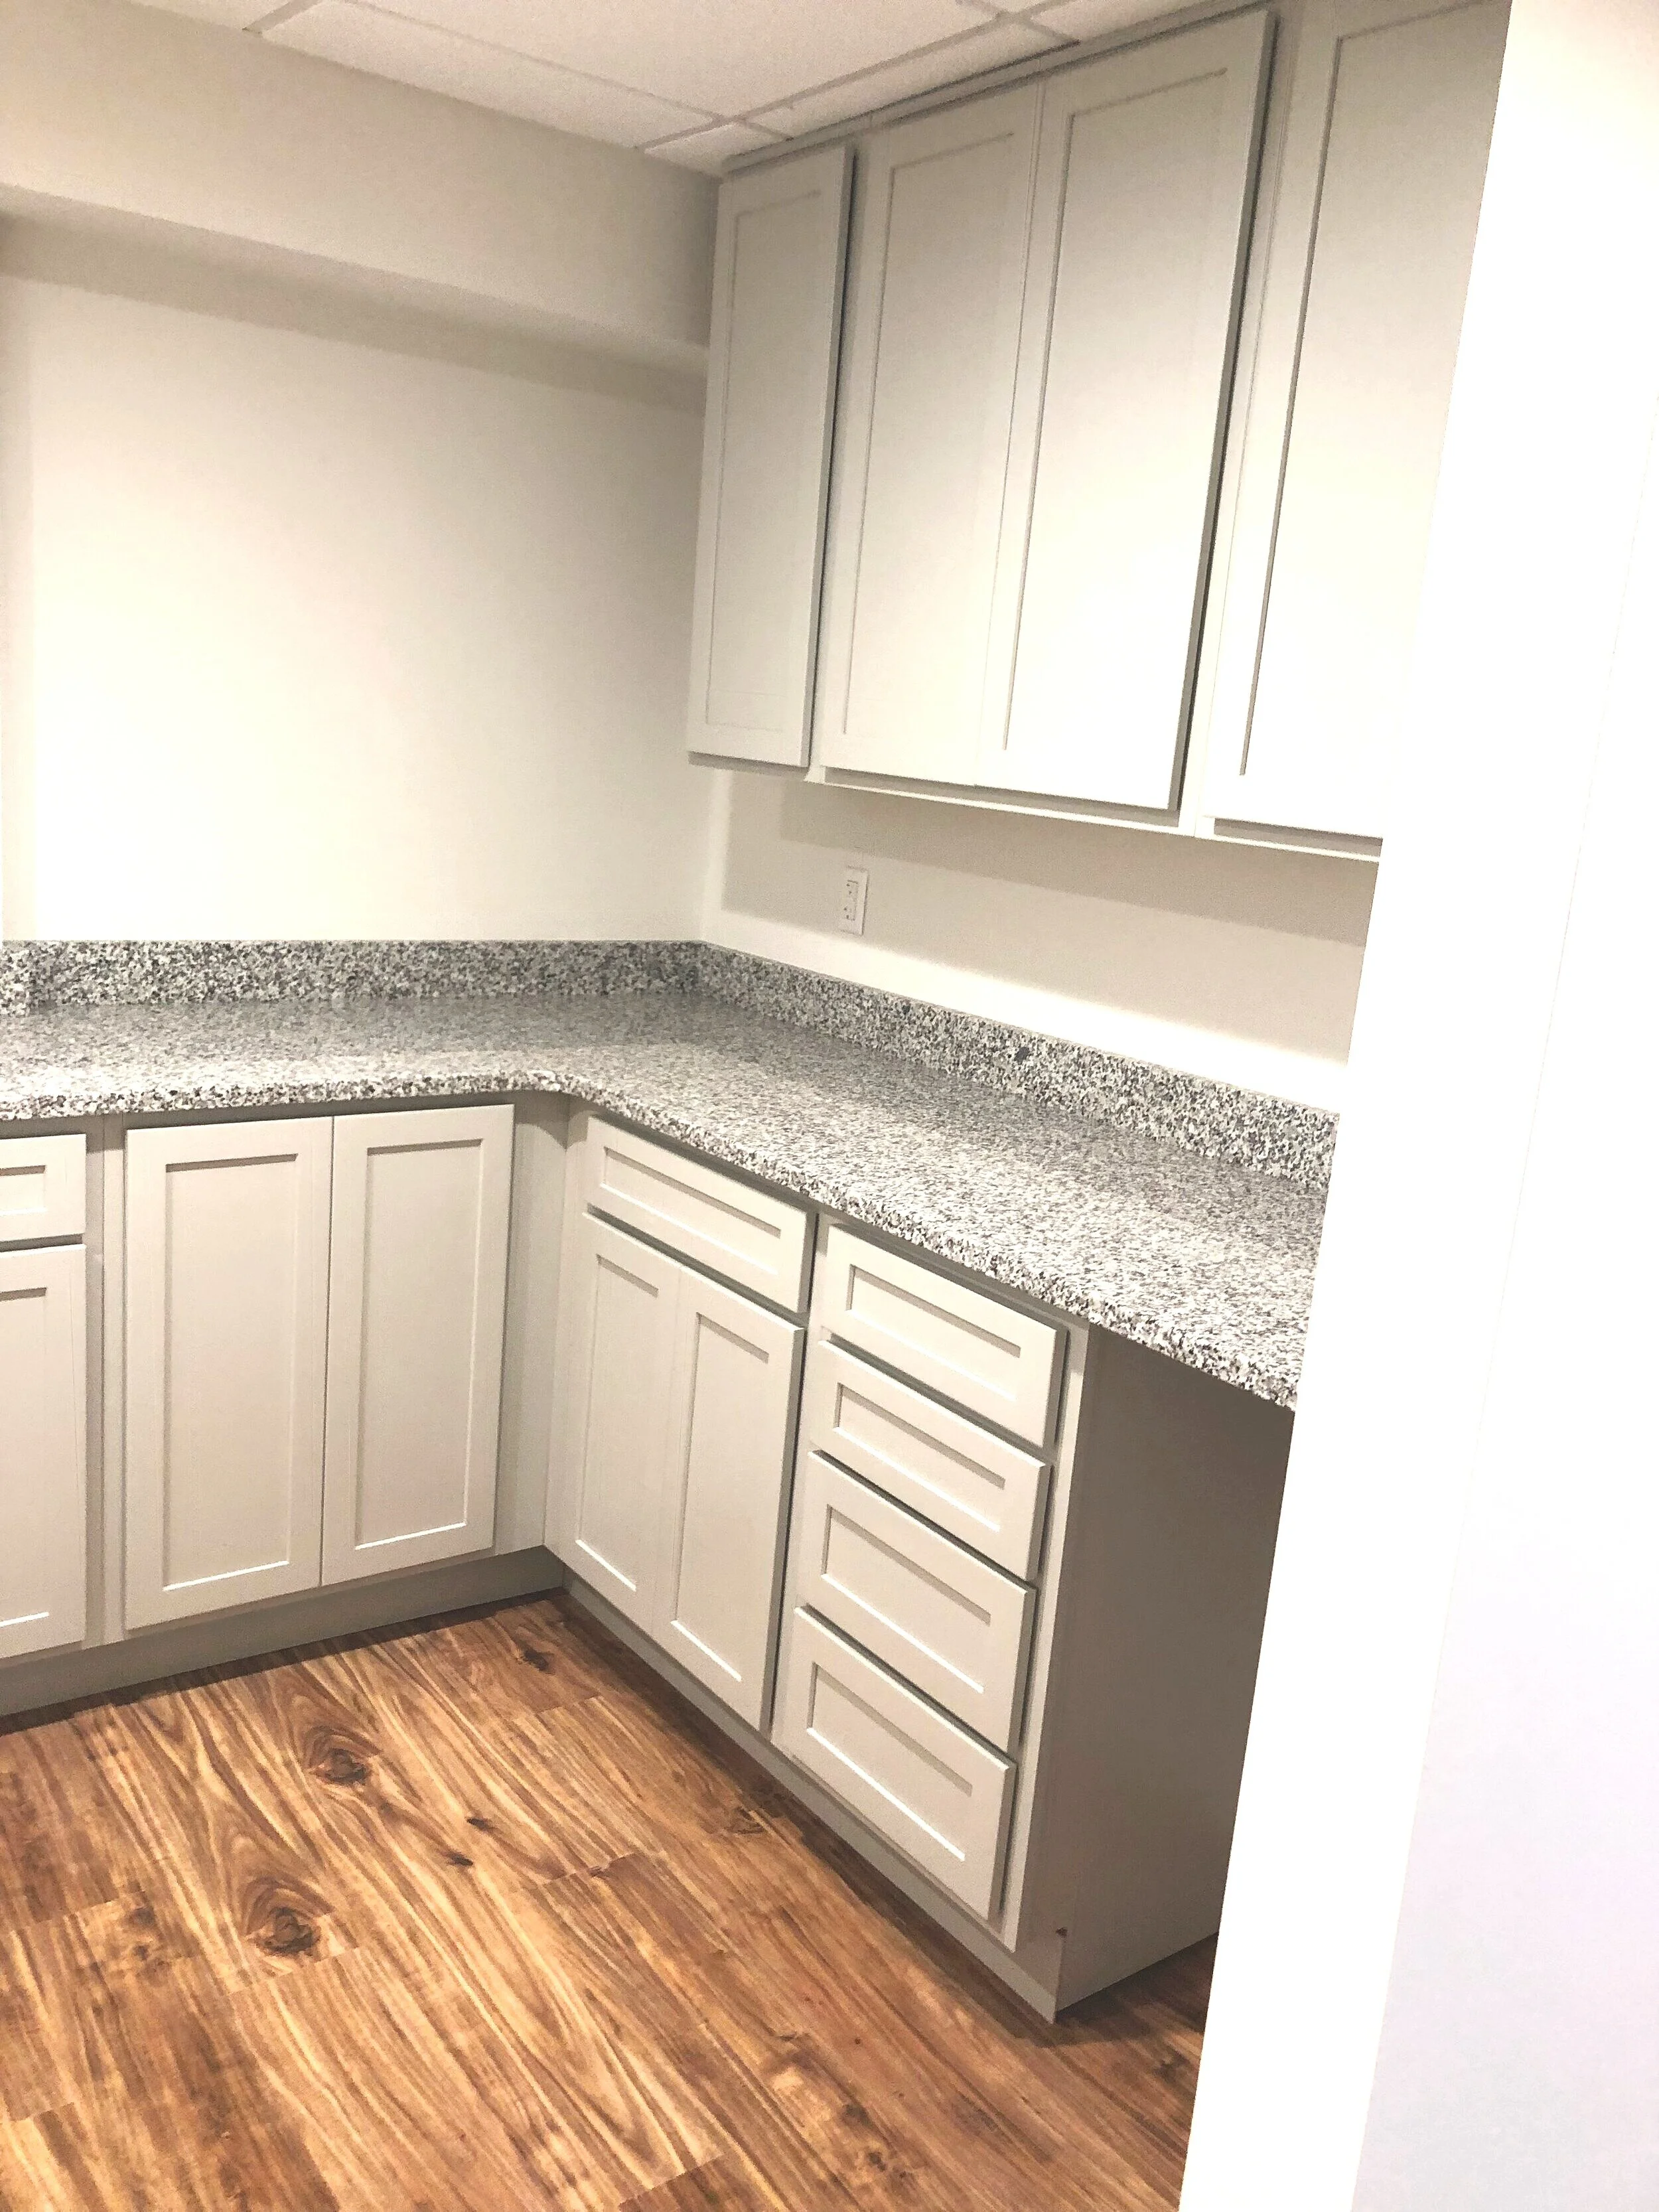
All that’s left now are the finishing touches!

Recommended Shopping List